I have been working with SQL CLR functions and procedure recently, and have come up with a crazy solution involving JSON, Analysis Services, and Visual Studio Database projects. Before we get into the crazy solution, we are going to take another step into SQL CLR Procedures which will help with understanding the pain points with using an external library. In a previous post we looked at creating JSON objects and in another post creating SQL CLR functions and procedures. In this blog post we are going to deserialize a JSON object and return the data as dataset to the results window.
The idea behind this blog post is to pass a JSON object to a SQL CLR procedure, deserialize the JSON object into a .Net object, load the .Net object into dataset, and return to dataset to the client. Now before you start thinking, “with SQL2016 we have JSON support, why do we need this?” One, an important part of this blog post is to show how to include external libraries into a CLR and how to allow SQL Server to use them. Two, we will need JSON in the crazy solution later, so showing how to work with JSON in .NET will help in the next blog post. Three, it will make for an “interesting” blog post and I could not think of anything better.
Data Setup
Here is the sample JSON object that we will pass to the SQL CLR procedure, which happens to be the grades from a student in a previous JSON blog post.
{
  "Grades": [
    {
      "CourseCode": "ICS140",
      "CourseName": "Introduction to Programming",
      "Grade": "A"
    },
    {
      "CourseCode": "ICS225",
      "CourseName": "Web Programming",
      "Grade": "B+"
    },
    {
      "CourseCode": "ICS240",
      "CourseName": "Advanced Programming",
      "Grade": "B-"
    },
    {
      "CourseCode": "ICS310",
      "CourseName": "Database Management",
      "Grade": "B"
    }
  ]
} |
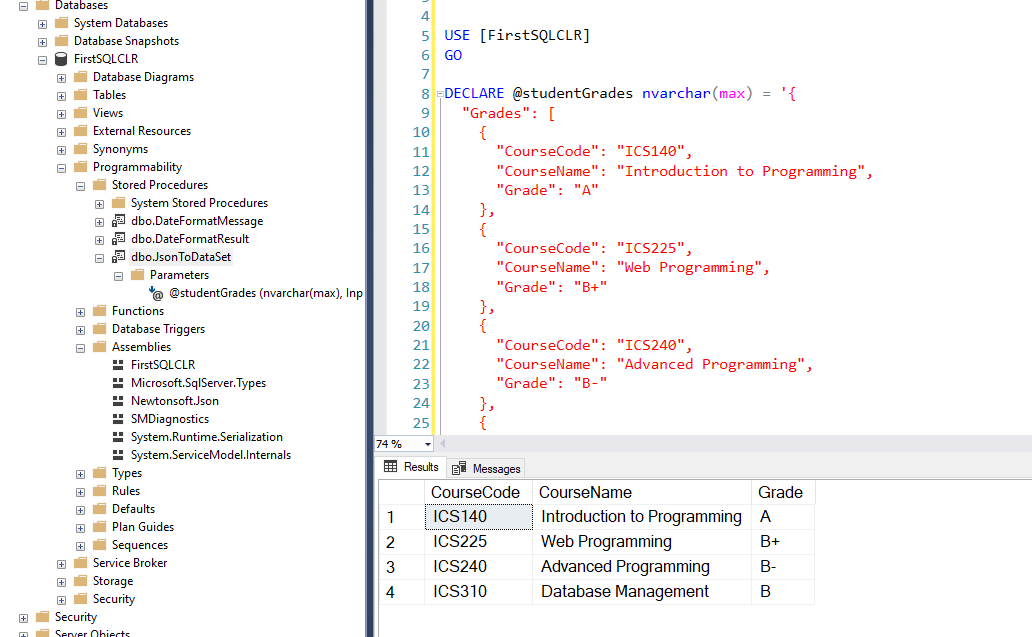
What we expect to return is a data set that looks like the following table.
| CourseCode | CourseName | Grade |
|---|---|---|
| ICS140 | Introduction to Programming | A |
| ICS225 | Web Programming | B+ |
| ICS240 | Advanced Programming | B- |
| ICS310 | Database Management | B |
CLR Object List
JsonToDataSet will accept a JSON object in the form of a NVARCHAR(MAX) column and will return a full dataset where the grade array will be converted into the dataset. The element names will become the column headers in the dataset.
Project Setup
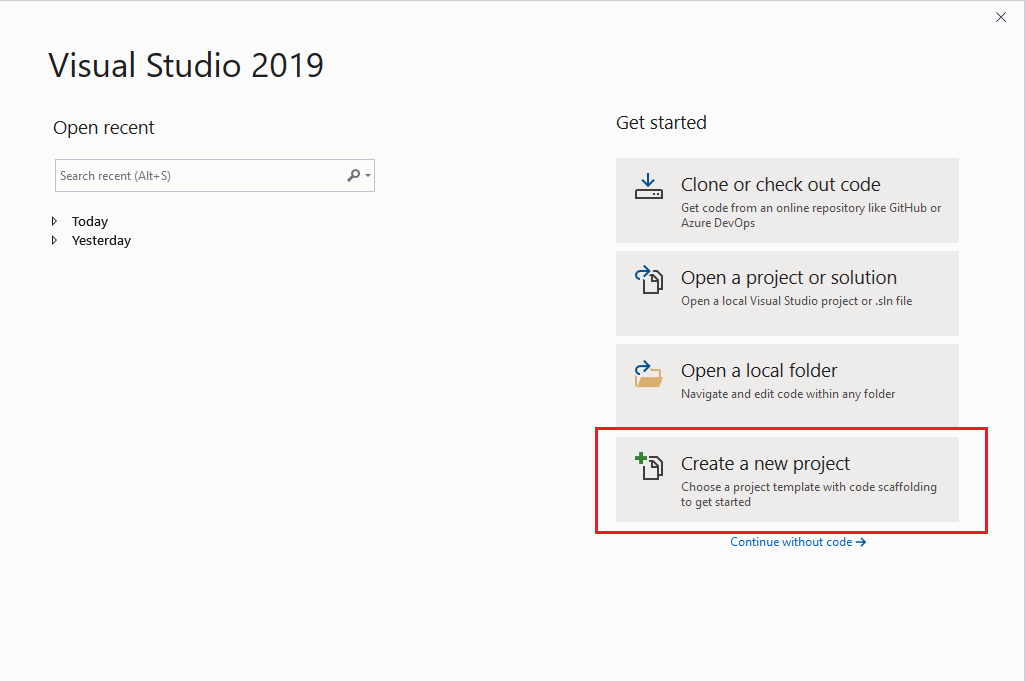
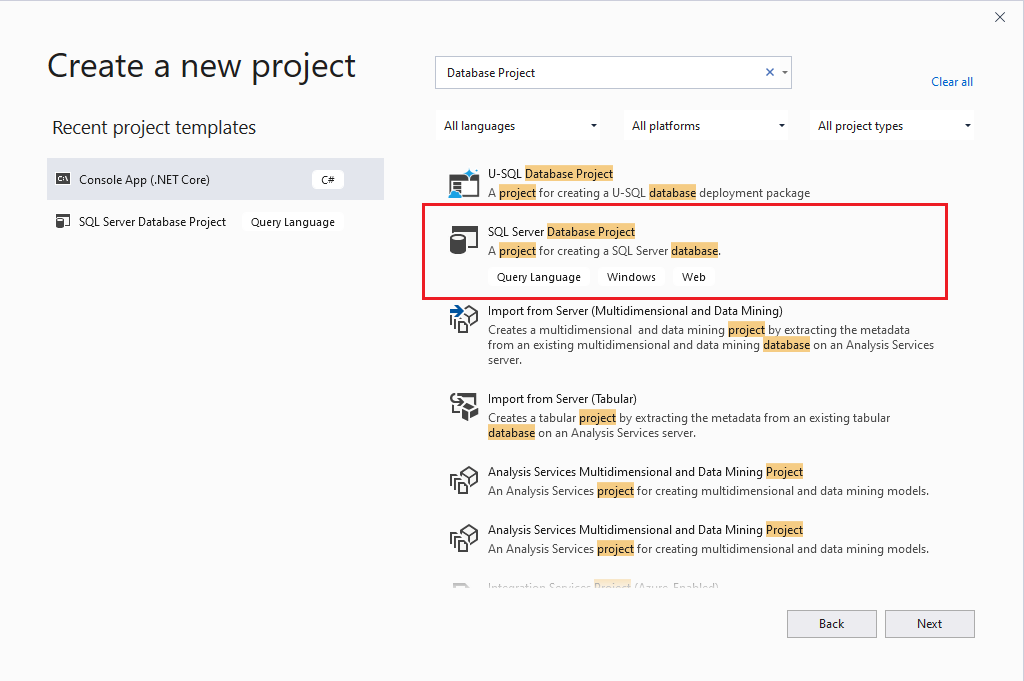
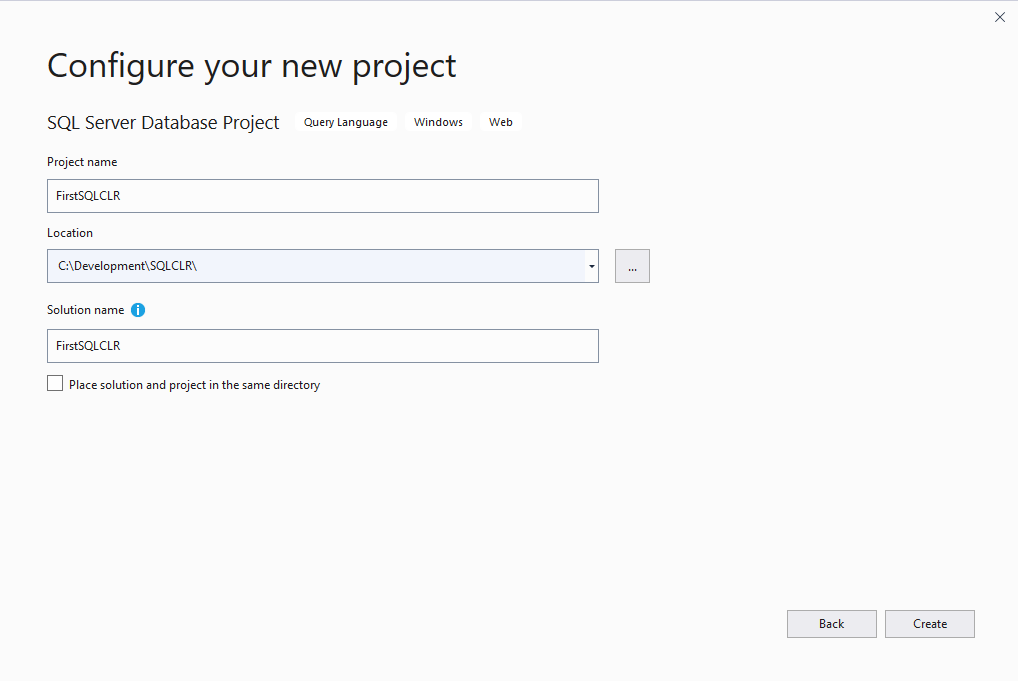
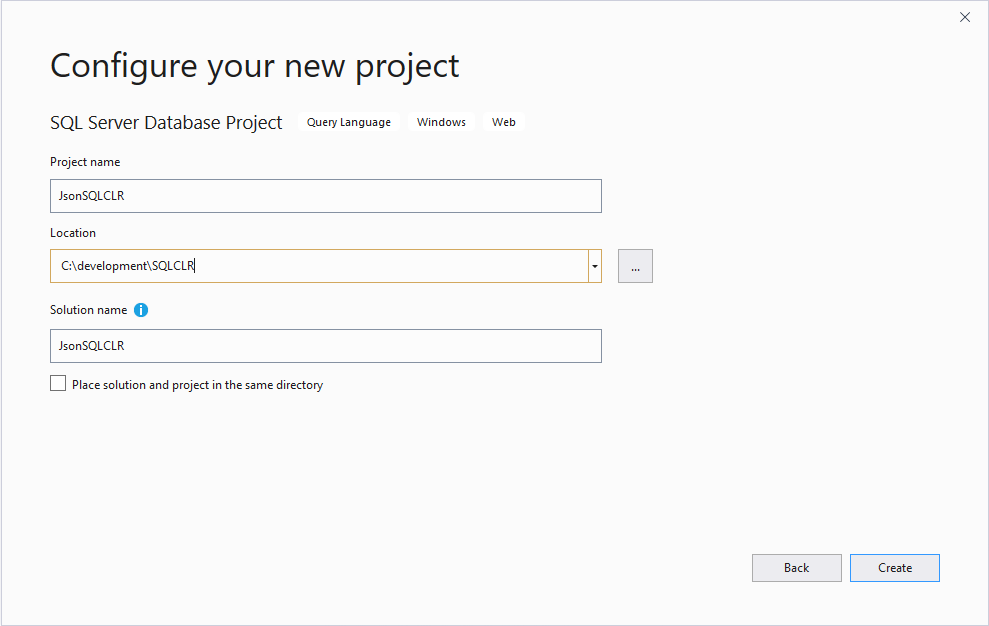
Even though we are going to deploy this SQL CLR procedure to the same database, we are going to create a new project called JsonSQLCLR, and we will follow the same process as we did for our FirstSQLCLR project. From the Visual Studio start page, click on the “Create a new Project”, from the new project page, find and click on the “SQL Server Database Project”, and click “Next”. In the “Configure your new project” we are going to add JsonSQLCLR for the project name and select our path again.
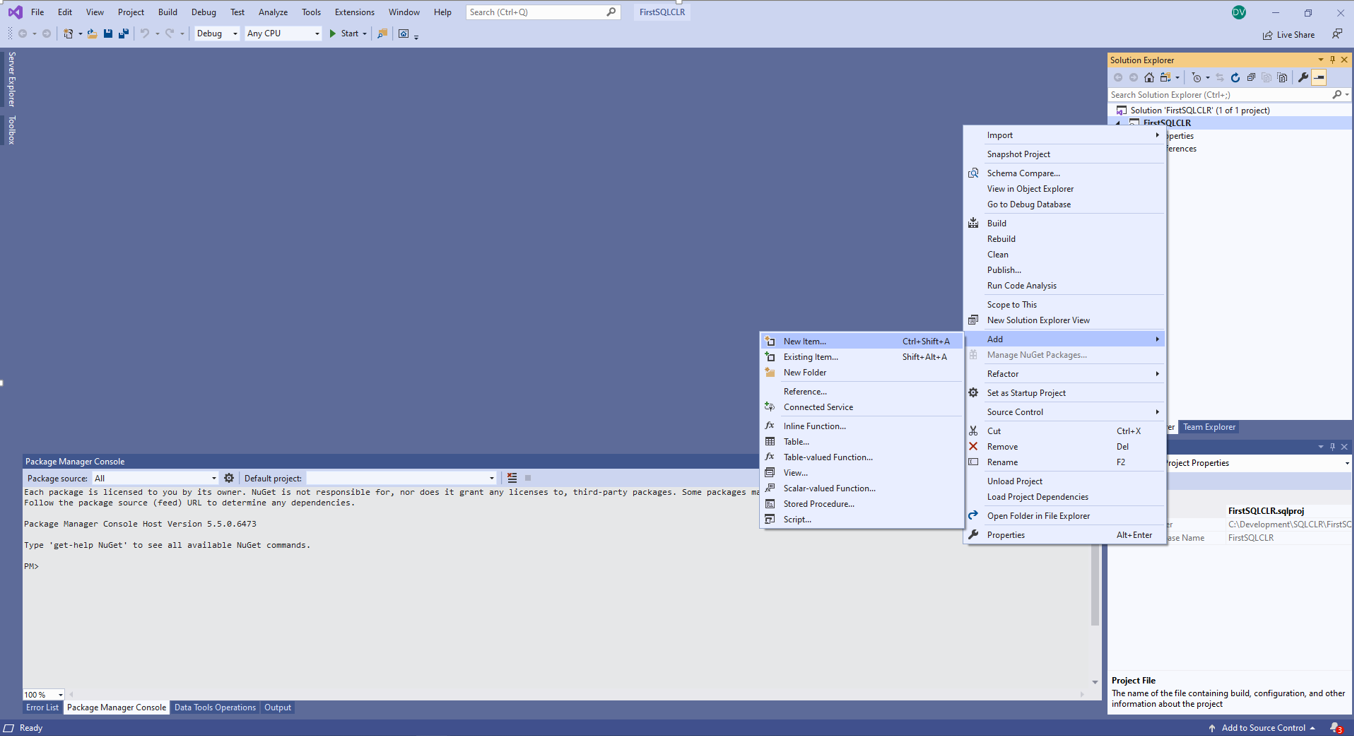
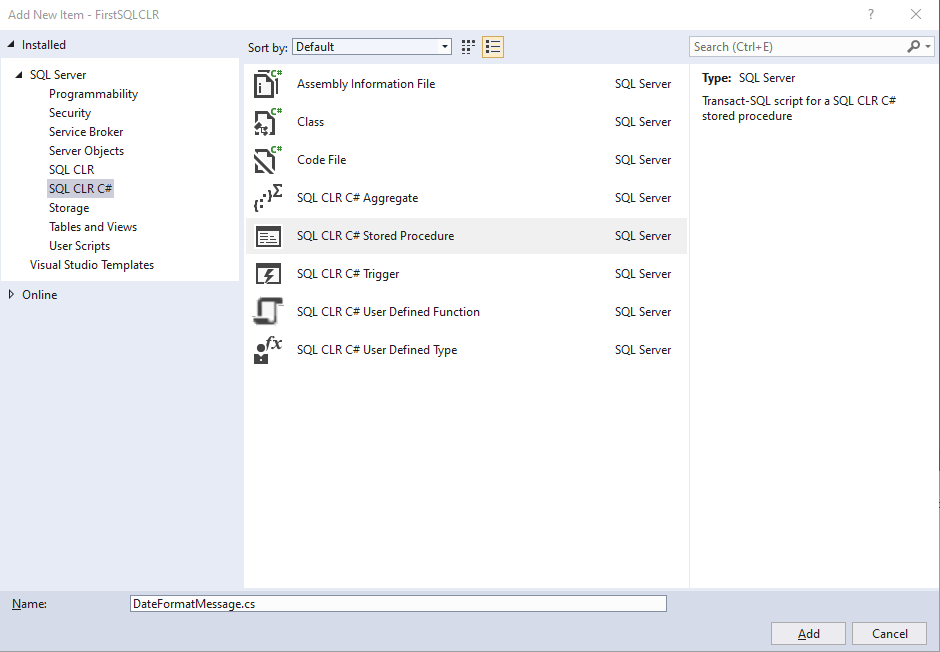
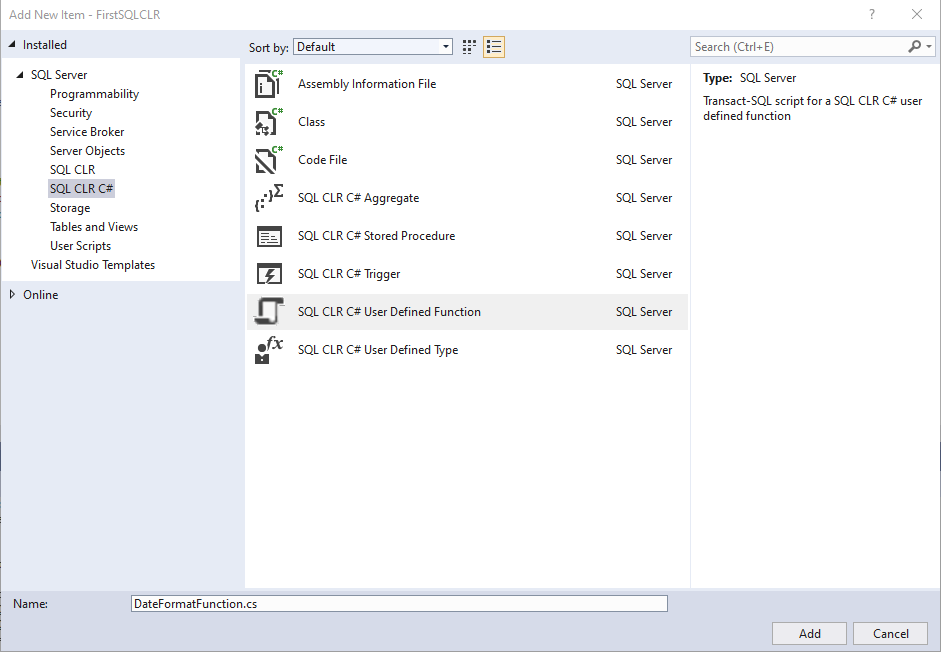
Once Visual Studio finishes configuring the SQL Server Database Project type, right click on the “JsonSQLCLR” project and select the “Add” option, then the “New Item…” option. In the Add New Item window we will select the “SQL CLR C#” option in the left options list. In the center window we will select the “SQL CLR C# Stored Procedure” option, and name it “JsonToDataSet.cs”.

JsonToDataSet
In the JsonToDataSet method we will add code to send data back to the client using a SQLPipe object, and code to allow the JSON object to be passed into the procedure as a SqlString parameter.
using System; using System.Data; using System.Data.SqlClient; using System.Data.SqlTypes; using Microsoft.SqlServer.Server; public partial class StoredProcedures { public static void JsonToDataSet(SqlString studentGrades) { SqlPipe sqlPipe = SqlContext.Pipe; } } |
Now that we have the JSON object as a string in the method, we need to deserialize and put it into a .NET object that we can access and work with. Before we can deserialize the JSON object we need to define a class that we can use to reference and populate data into. We could write our own class, however when there are free tools available to do the work, we will use the free tools. BTW, I like free tools. This Json Utils site will generate C#.NET classes for us by passing in our JSON string. The output will look like the following, which we will add below our StoredProcedures class. At a high level, the following structures state we can have a student with a list of grades, and each grade can have a Corse Code, Course Name and Grade.
public class Grades { public string CourseCode { get; set; } public string CourseName { get; set; } public string Grade { get; set; } } public class Student { public IList<Grades> grades { get; set; } } |
The Student class implementation is using an IList type, which will cause the build to fail, because the project does not currently understand what an IList type is. The library for an IList type is found in the System Collections Generic library, so we will need to import the library. Add the following line near the top of the coding file, you will see other using statements there as well.
public class Gradesusing System.Collections.Generic; |
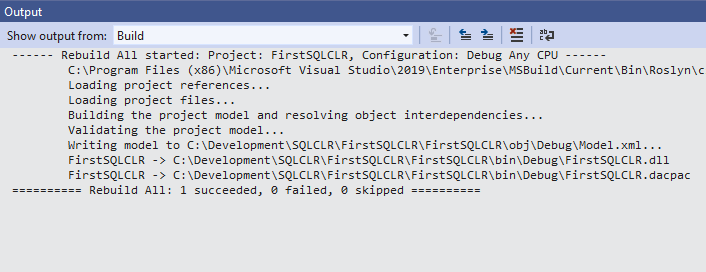
After the line is added we should be able to compile the project.
Now that we have the Student and Grades classes implemented, we will need to desearlize the JSON object, in a SQL Server Database Project we do not have libraries loaded by default for working with JSON objects, so we will need to import a JSON library. There are a few libraries that can do this, however, some are not available to SQL Server project types. The ideal library is System.Text.Json which is available through NuGet, but currently it is not an option for SQL Server database projects or integration services projects. Instead, we are going to use Json.NET from Newtonsoft, which is also a great utility for working with JSON in C#.NET. We can download the libraries from https://www.newtonsoft.com/json. Add the Newtonsoft.Json.dll to a location that is accessible to your project and the SQL Server instance.
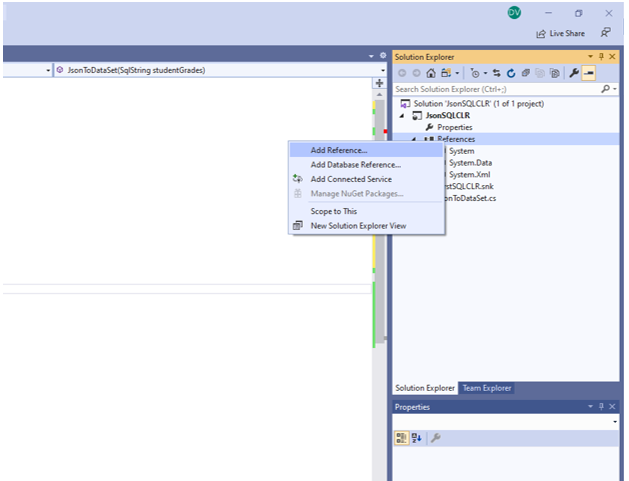
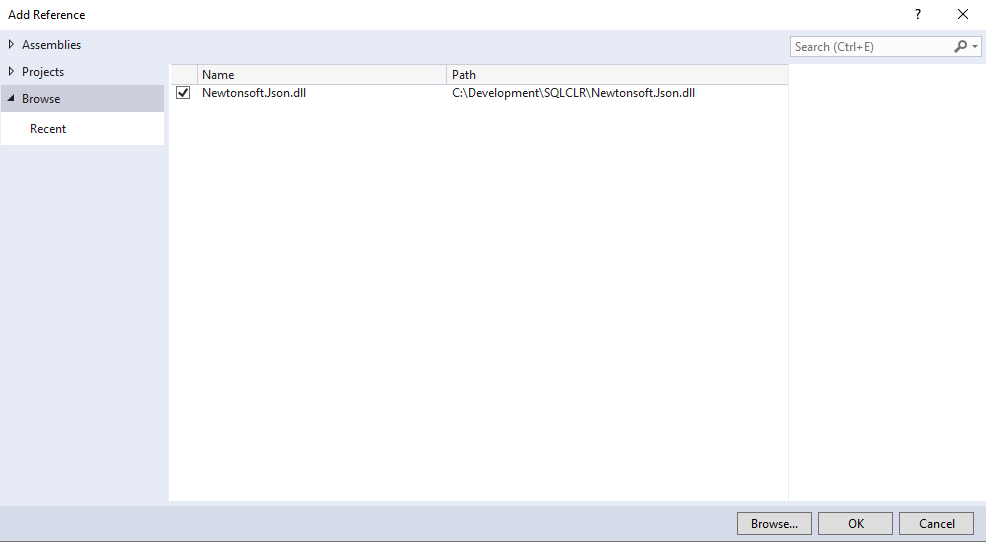
To add the JSON libraries into our project we will right click on “References” and select “Add References…” In the Add Reference window we will select Browse and navigate to the location where you stored Newtonsoft.Json.dll.
 |
 |
After we have added a reference to the library in the project we need to import the Newtonsoft.Json library in our code. Add the following line near the top of the coding file, you will see other using statements there as well.
using Newtonsoft.Json; |
Now we are ready to deserialize the JSON object. Within the Newtonsoft.JSON library, we are going to use a generic method called DeserializeOjbect to convert the JSON object into a Student object
JsonConvert.DeserializeObject<ClassType>([Json Object]); |
The DeserializeObject method accepts a Student class in the method call and uses the JSON object passed in as a parameter to create a student object. At a high level the Student class gives a mapping to the DeserializeObject method, and the DeserializeObject method will try to populate as much as it can based on that mapping. If the JSON object passed in does not match, the mapping no data will be mapped and you will be left with an empty Student object. Here is the full call which will instantiate the student object and allow us to start working with it.
Student student = JsonConvert.DeserializeObject<Student>(studentGrades.ToString()); |
Now we have our JSON object deserialized, we can define out output. In our previous post we create a metadata object to store our formatted date. This worked for a single output, however this time we need to output three columns. So we will need to define a list of metadata objects. We will accomplish this by creating a generic list of type SqlMetaData. We will also use a short cut syntax for creating the SqlMetaData objects. Instead of creating variables and separate objects like this:
SqlMetaData courseCodeMetatData = new SqlMetaData("CourseCode", SqlDbType.NVarChar, 20) sqlMetaData.Add(sqlMetaData); |
We are going to use a shortcut syntax by skipping the variable creation and creating the objects directly in the sqlMetaData list. The full syntax will look like this:
List<SqlMetaData> sqlMetaData = new List<SqlMetaData>(); sqlMetaData.Add(new SqlMetaData("CourseCode", SqlDbType.NVarChar, 20)); sqlMetaData.Add(new SqlMetaData("CourseName", SqlDbType.NVarChar, 250)); sqlMetaData.Add(new SqlMetaData("Grade", SqlDbType.NVarChar, 5)); SqlDataRecord sqlDataRecord = new SqlDataRecord(sqlMetaData.ToArray()); |
Now we are ready to start sending data back to the client. Before we can start sending data we need to mark the beginning of the dataset that we are going to start sending to the client. To do this we will call the SendResultsStart method, this method will mark the beginning of the dataset sending process.
sqlPipe.SendResultsStart(sqlDataRecord); |
Now that the pipe has been opened to the client we send data from the Student class back to the client. We will accomplish this by traversing the student object with a foreach loop, capturing and adding to the SQL Data Record list, and finally send each record back to the client.
foreach (Grades grade in student.grades) { sqlDataRecord.SetString(0, grade.CourseCode); sqlDataRecord.SetString(1, grade.CourseName); sqlDataRecord.SetString(2, grade.Grade); sqlPipe.SendResultsRow(sqlDataRecord); } |
All that is left is to mark the end of the dataset in the SQL Pipe.
sqlPipe.SendResultsEnd(); |
Full Code
using System; using System.Collections.Generic; using System.Data; using System.Data.SqlClient; using System.Data.SqlTypes; using Microsoft.SqlServer.Server; using Newtonsoft.Json; public partial class StoredProcedures { [Microsoft.SqlServer.Server.SqlProcedure] public static void JsonToDataSet(SqlString studentGrades) { SqlPipe sqlPipe = SqlContext.Pipe; Student student = JsonConvert.DeserializeObject<Student>(studentGrades.ToString()); List<SqlMetaData> sqlMetaData = new List<SqlMetaData>(); sqlMetaData.Add(new SqlMetaData("CourseCode", SqlDbType.NVarChar, 20)); sqlMetaData.Add(new SqlMetaData("CourseName", SqlDbType.NVarChar, 250)); sqlMetaData.Add(new SqlMetaData("Grade", SqlDbType.NVarChar, 5)); SqlDataRecord sqlDataRecord = new SqlDataRecord(sqlMetaData.ToArray()); sqlPipe.SendResultsStart(sqlDataRecord); foreach (Grades grade in student.grades) { sqlDataRecord.SetString(0, grade.CourseCode); sqlDataRecord.SetString(1, grade.CourseName); sqlDataRecord.SetString(2, grade.Grade); sqlPipe.SendResultsRow(sqlDataRecord); } sqlPipe.SendResultsEnd(); } } public class Grades { public string CourseCode { get; set; } public string CourseName { get; set; } public string Grade { get; set; } } public class Student { public IList<Grades> grades { get; set; } } |
SQL CLR Security
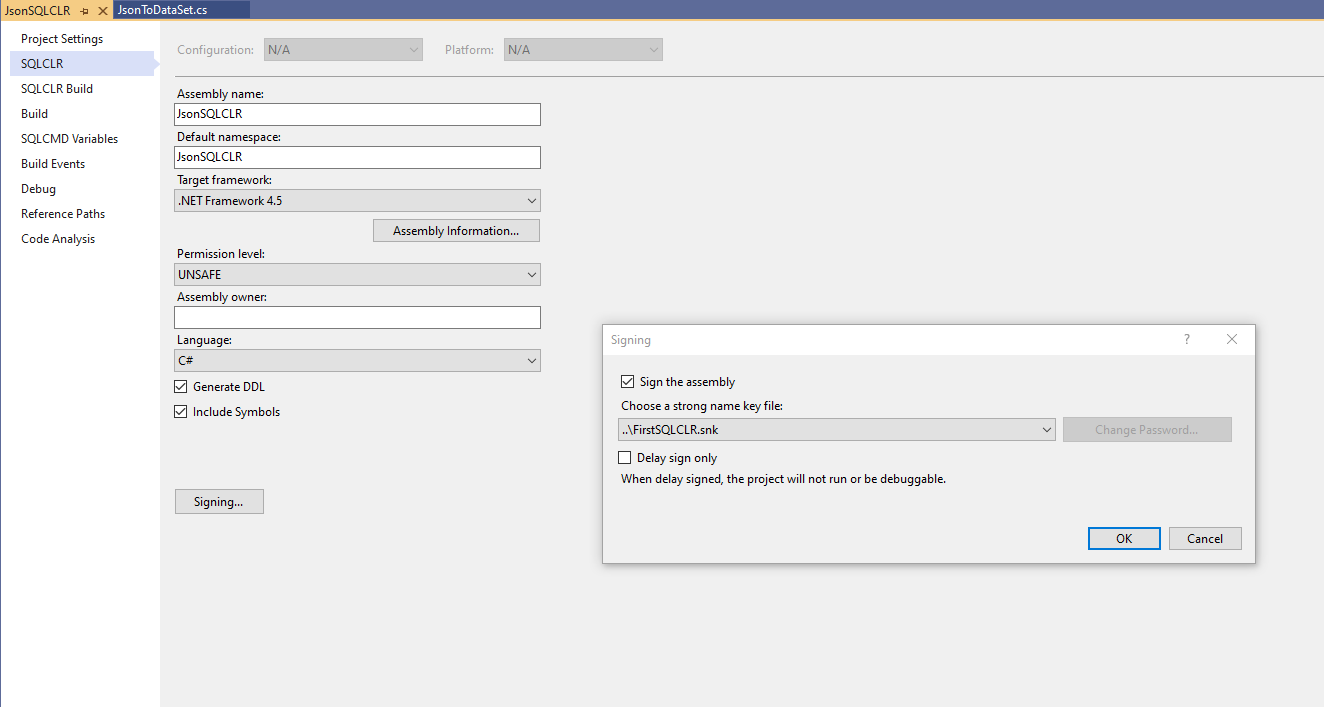
Before we deploy the JSON SQL CLR procedure we need to implement the same security features with an asymmetric key to allow the SQL CLR procedure to execute in the database. Here are the steps for creating an asymmetric key, signing the CLR project, and creating a login that binds the asymmetric key and allows the CLR objects to execute. More details from the previous post can be found here.
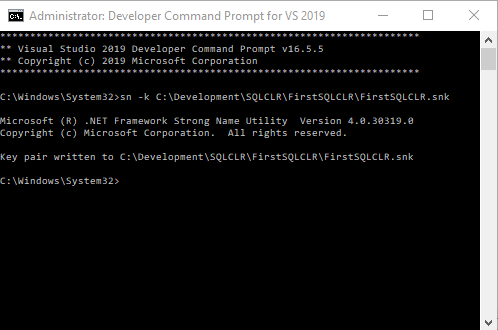
- Create an asymmetric key using the strong name utility command line tool installed with Visual Studio 2019.
- Create an ASYMMETRIC KEY in SQL Server
- Create a SQL Login based on the ASYMMETRIC KEY
- Grant Permissions to Assemblies using the SQL Login
- Sign the SQL CLR Project with the asymmetric key
Deploy the CLR Objects
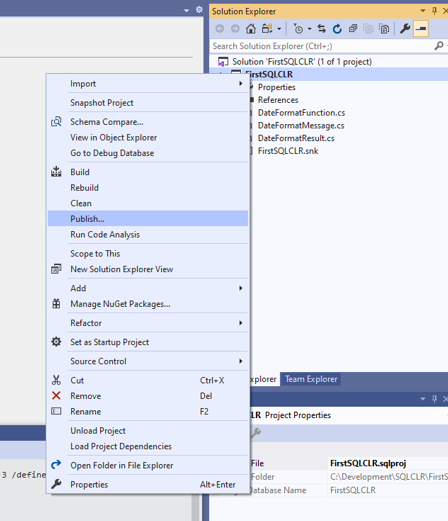
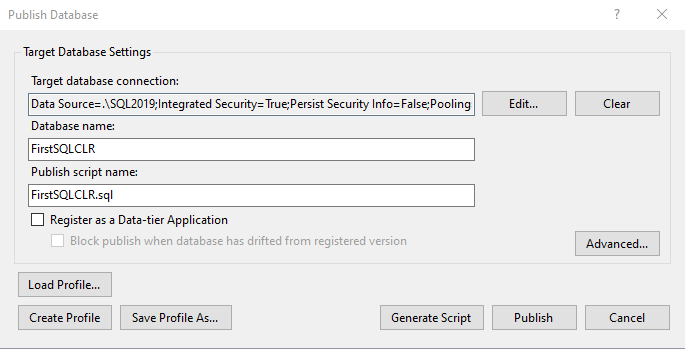
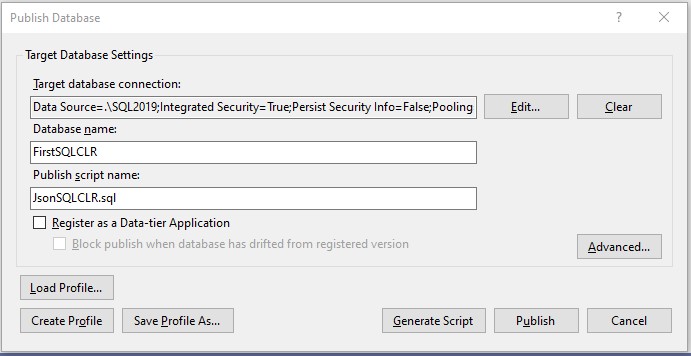
After the solution successfully compiles, the security has been configured both on the Database Project and SQL Instance, we are ready to deploy the solution to the SQL Server. To deploy the SQL CLR objects we will right click on the “JsonSQLCLR” project and select “Publish…” We are going to deploy to the same database as we did in the FirstSQLCLR blog post. We are doing this for two reasons, first to show that we can and second, we are being lazy and not creating another database.
|
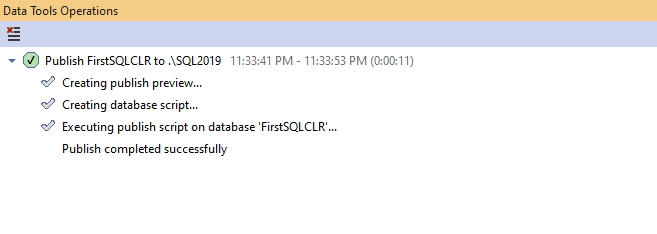
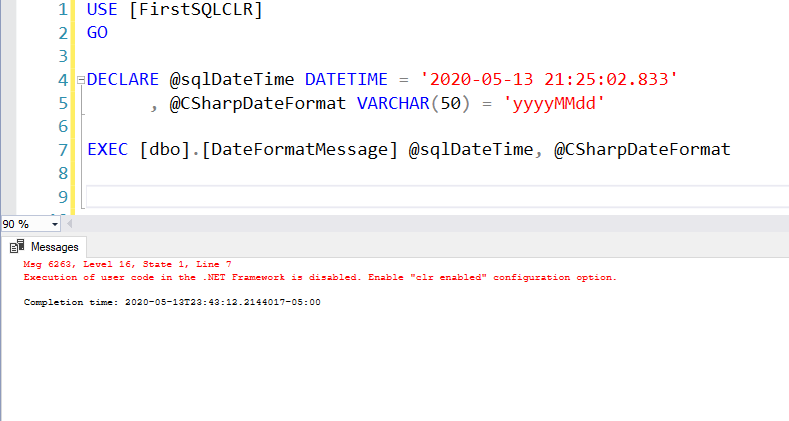
With any luck the deployment should have failed, which means that the assemblies and permissions have not been deployed and the database environment is not set to have Trustworthy=On. We should see an error like below. We will need to click on the “View Results” link to see the error message.

As the error message states, we are seeing this error message because to the Newtsonsoft.Json library is not found in the database. So we will need to add the Newtsonsoft.Json library to the FirstSQLCLR database. We have a few options to add the library into the database. We can add the assembly as a trusted assembly in SQL server, we can create logins for the assemblies, or we can create certificates for the assemblies. Here are the sql scripts for each option.
- Using Trusted assemblies
USE FirstSQLCLR
GO

DECLARE @clrName NVARCHAR(4000) = N'Newtonsoft.Json'
DECLARE @clrBin VARBINARY(max) = 0x4D5A90000300000004000000FFFF0 – this is simplified for the blog post, this string is usually very large
DECLARE @hash VARBINARY(64)
SET @hash = hashbytes('SHA2_512', @clrBin);

EXEC sys.sp__trusted_assembly @hash, @clrName;

-- Now that we have a trusted the assembly we can add it into the database.
CREATE ASSEMBLY [JsonSQLCLR]
    AUTHORIZATION [dbo]
    FROM 0x4D5A90000300000004000000FFFF0; – this is simplified for the blog post, this string is usually very large
- Using Asymmetric Keys
USE master
GO

CREATE ASYMMETRIC KEY NewtonsoftJsonKey
FROM EXECUTABLE FILE = 'C:\Development\SQLCLR\Newtonsoft.Json.dll';

CREATE LOGIN NewtonsoftJsonLogin FROM ASYMMETRIC KEY NewtonsoftJsonKey;

GRANT UNSAFE ASSEMBLY TO NewtonsoftJsonLogin;

--Now that we have a login that has permissions to the assembly we can add it into the database.
USE FirstSQLCLR
GO

CREATE ASSEMBLY [Newtonsoft.Json]
FROM 'C:\Development\SQLCLR\Newtonsoft.Json.dll'
WITH PERMISSION_SET = UNSAFE
- Using Certificates
USE master
GO

CREATE CERTIFICATE NewtonsoftCert
FROM EXECUTABLE FILE = 'C:\Development\SQLCLR\Newtonsoft.Json.dll';
GO

CREATE LOGIN NewtonsoftJsonLogin
FROM CERTIFICATE NewtonsoftJsonCert;
GO

GRANT UNSAFE ASSEMBLY TO NewtonsoftJsonLogin;
GO

--Now that we have a login that has permissions to the assembly we can add it into the database.
USE FirstSQLCLR
GO

CREATE ASSEMBLY [Newtonsoft.Json]
FROM 'C:\Development\SQLCLR\Newtonsoft.Json.dll'
WITH PERMISSION_SET = UNSAFE
In this blog post we are going to use option three the certificates. We will start out by creating the certificate in the master database using the following script. Being that we have placed the Newtonsoft.Json.dll in the proper directory these statements should execute successfully.
USE master GO -- CERTIFICATE [Newtonsoft.Json] CREATE CERTIFICATE NewtonsoftCert FROM EXECUTABLE FILE = 'C:\Development\SQLCLR\Newtonsoft.Json.dll'; GO CREATE LOGIN NewtonsoftJsonLogin FROM CERTIFICATE NewtonsoftJsonCert; GO GRANT UNSAFE ASSEMBLY TO NewtonsoftJsonLogin; GO |
Now we are going to try adding the missing Newtonsoft.Json assembly into the database using the following script.
USE FirstSQLCLR GO CREATE ASSEMBLY [Newtonsoft.Json] FROM 'C:\Development\SQLCLR\Newtonsoft.Json.dll' WITH PERMISSION_SET = UNSAFE |
Notice that now we got an error in SQL Server Management Studio? As the error states, we are missing another assembly. The reason here is that the Newtonsoft.Json assembly has a dependency on other assemblies. If the assembly that you are importing has multiple references you may have to import all of the other dependent references. This can be a tedious repetitive task, however, for this Json SQL CLR project here are the certificate, login, and assembly create statements. You may need to adjust the paths to the dll’s depending on the version Visual Studio and .Net installed.
USE Master GO -- CERTIFICATE MicrosoftNetCert CREATE CERTIFICATE MicrosoftNetCert FROM EXECUTABLE FILE = 'C:\Windows\Microsoft.NET\assembly\GAC_MSIL\System.Runtime.Serialization\v4.0_4.0.0.0__b77a5c561934e089\System.Runtime.Serialization.dll' GO CREATE LOGIN MicrosoftNetLogin FROM CERTIFICATE MicrosoftNetCert GO GRANT UNSAFE ASSEMBLY TO MicrosoftNetLogin GO -- CERTIFICATE [Newtonsoft.Json] CREATE CERTIFICATE NewtonsoftCert FROM EXECUTABLE FILE = 'C:\Development\SQLCLR\Newtonsoft.Json.dll'; GO CREATE LOGIN NewtonsoftLogin FROM CERTIFICATE NewtonsoftCert; GO GRANT UNSAFE ASSEMBLY TO NewtonsoftLogin; GO USE FirstSQLCLR GO -- ASSEMBLY [System.ServiceModel.Internals] CREATE ASSEMBLY [System.ServiceModel.Internals] FROM 'C:\Windows\Microsoft.NET\assembly\GAC_MSIL\System.ServiceModel.Internals\v4.0_4.0.0.0__31bf3856ad364e35\System.ServiceModel.Internals.dll' WITH PERMISSION_SET = UNSAFE GO --ASSEMBLY [SMDiagnostics] CREATE ASSEMBLY [SMDiagnostics] FROM 'C:\Windows\Microsoft.NET\assembly\GAC_MSIL\SMDiagnostics\v4.0_4.0.0.0__b77a5c561934e089\SMDiagnostics.dll' WITH PERMISSION_SET = UNSAFE GO -- ASSEMBLY [System.Runtime.Serialization] CREATE ASSEMBLY [System.Runtime.Serialization] FROM 'C:\Windows\Microsoft.NET\assembly\GAC_MSIL\System.Runtime.Serialization\v4.0_4.0.0.0__b77a5c561934e089\System.Runtime.Serialization.dll' WITH PERMISSION_SET = UNSAFE GO -- ASSEMBLY [Newtonsoft.Json] CREATE ASSEMBLY [Newtonsoft.Json] FROM 'C:\Development\SQLCLR\Newtonsoft.Json.dll' WITH PERMISSION_SET = UNSAFE; GO |
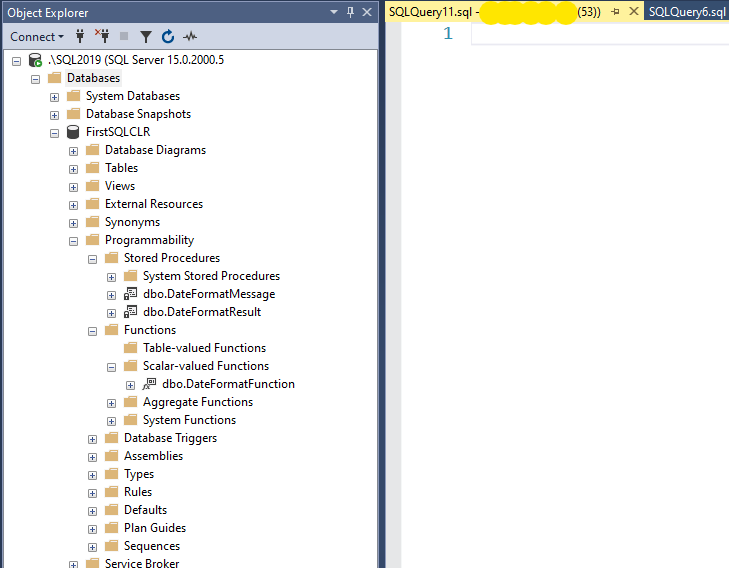
After executing scripts, providing everything was successful, you should see the assemblies in the FirstSQLCLR database under the Programmability –> Assemblies folder. Now that we have the assemblies created we can try to deploy our JSON SQL CLR procedure to the FirstSQLCLR database again.
Execute the JSON CLR Procedure
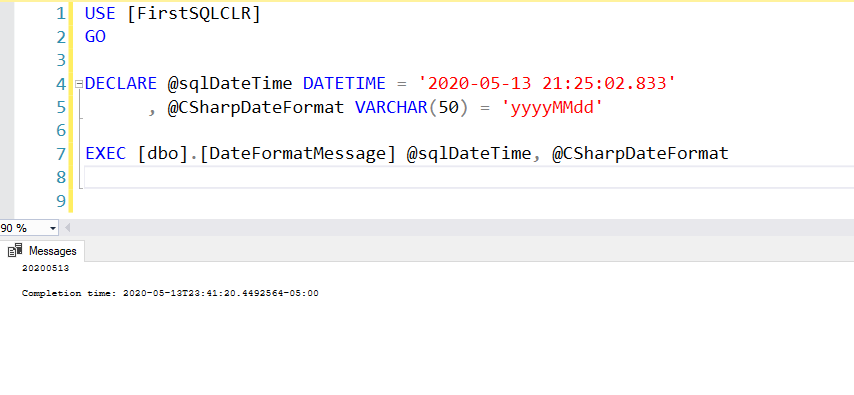
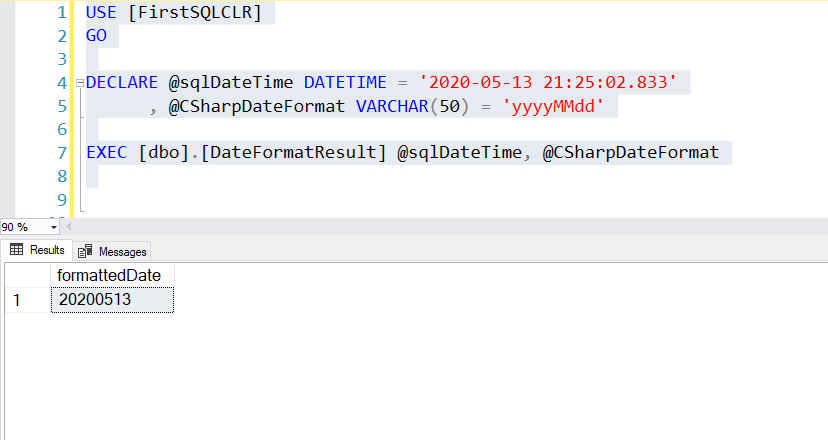
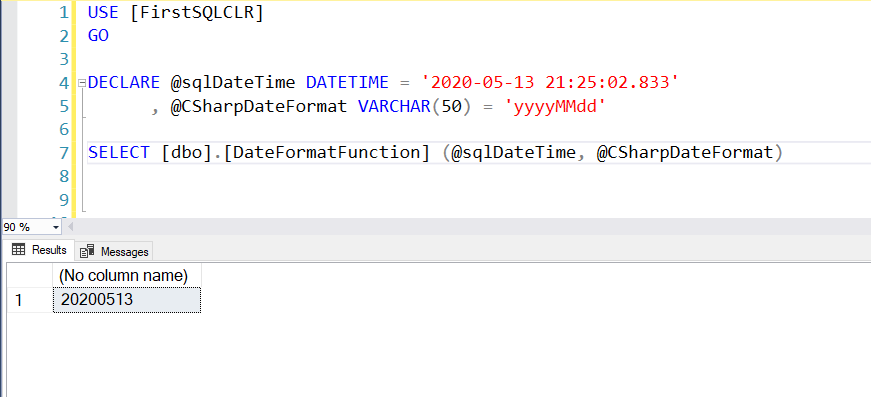
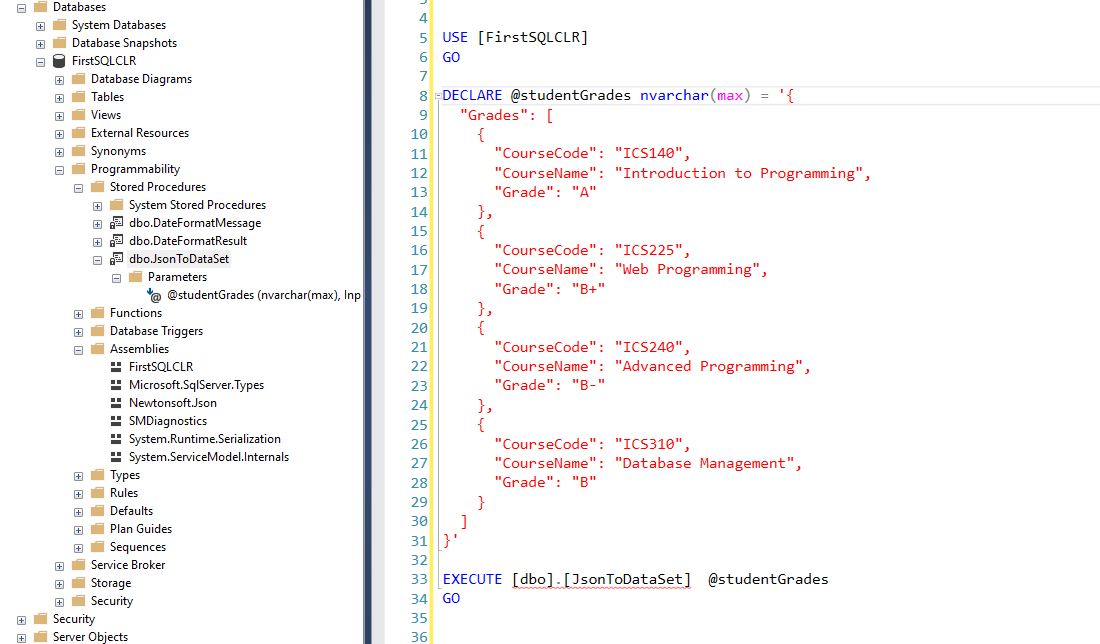
Now that we have successfully deployed the JSON SQL CLR procedure, we can try to execute it. We will need to create a variable to store the JSON object, and pass that to the procedure. We can execute the SQL CLR procedure with the following SQL Code. If everything goes well, we should see a result set with course and grade information populated based on the JSON object that was passed in.
USE [FirstSQLCLR] GO DECLARE @studentGrades nvarchar(max) = '{ "Grades": [ { "CourseCode": "ICS140", "CourseName": "Introduction to Programming", "Grade": "A" }, { "CourseCode": "ICS225", "CourseName": "Web Programming", "Grade": "B+" }, { "CourseCode": "ICS240", "CourseName": "Advanced Programming", "Grade": "B-" }, { "CourseCode": "ICS310", "CourseName": "Database Management", "Grade": "B" } ] }' EXECUTE [dbo].[JsonToDataSet] @studentGrades GO |
Summary
This was step two “partial craziness” for creating SQL CLR procedures in Visual Studio database projects. This post was focused more on importing libraries and assemblies into SQL Server than working with JSON. However, it also showed how we can build a bigger and more dynamic result set that can be returned from the CLR to the client. We have looked at a “slightly” more complex version of a CLR. Previously we looked at simple CLR objects and the intricacies of security and deployment. Now we are ready to look at the real craziness that I get myself into.